Introducing XInput! – Battle Beaver Customs

30 DAY MONEY BACK GUARANTEE!

Introducing XInput !

We are reaching out to all of our Marius Board customers with some exciting news. Development work on Project Marius has continued since your purchase and today we're excited to share that the XInput Mode Beta is now publicly available on the standard Setup site!


  • XInput Mode Highlights:

    • Fewer connectivity issues at high polling rates
    • Remappable Touchpad input on MH4 and MH5 boards
    • Higher thumbstick resolution, from 8-bit to 12-bit
    • Faster response times due to the elimination of DirectInput overhead

    Due to these benefits, Battle Beaver will be shipping all new and future Project Marius controllers already set in XInput Mode. This mode has been tested extensively by community members and professionals for some time now, and will move to the Stable Build shortly.

  • What You'll Need:

    • Computer with a Chromium-based browser compatible with WebUSB
      - Examples: Chrome, Edge, Opera
      - Firefox and Safari are not supported.
    • USB-A to USB-C data cable
    • Controller with a Project Marius board installed

Settings Backup (IMPORTANT)

If you've had your board for a while, you probably have it dialed in how you like it. Thankfully, switching to XInput Mode doesn't require sacrificing that calibration. You can make a settings backup, update the firmware, swap to XInput Mode, and restore from the backup without losing your hard work. This is not a requirement — you can calibrate fresh later on if you'd like.
To back up your settings and calibration, follow these steps:

  1. Visit https://setup.mariusheier.com.
  2. Press and hold the PS Button (on MHX, press the Guide Button), then plug in the controller.
  3. Release the button and click CONNECT CONTROLLER.
  4. In the pop-up window, select your controller, then click Connect once again.
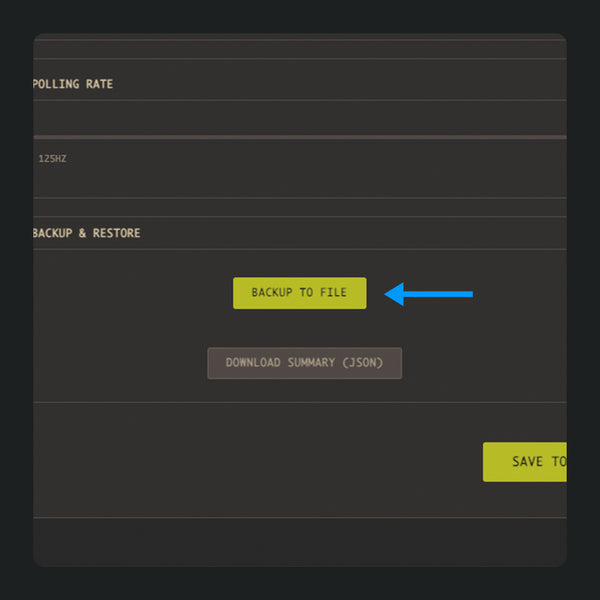
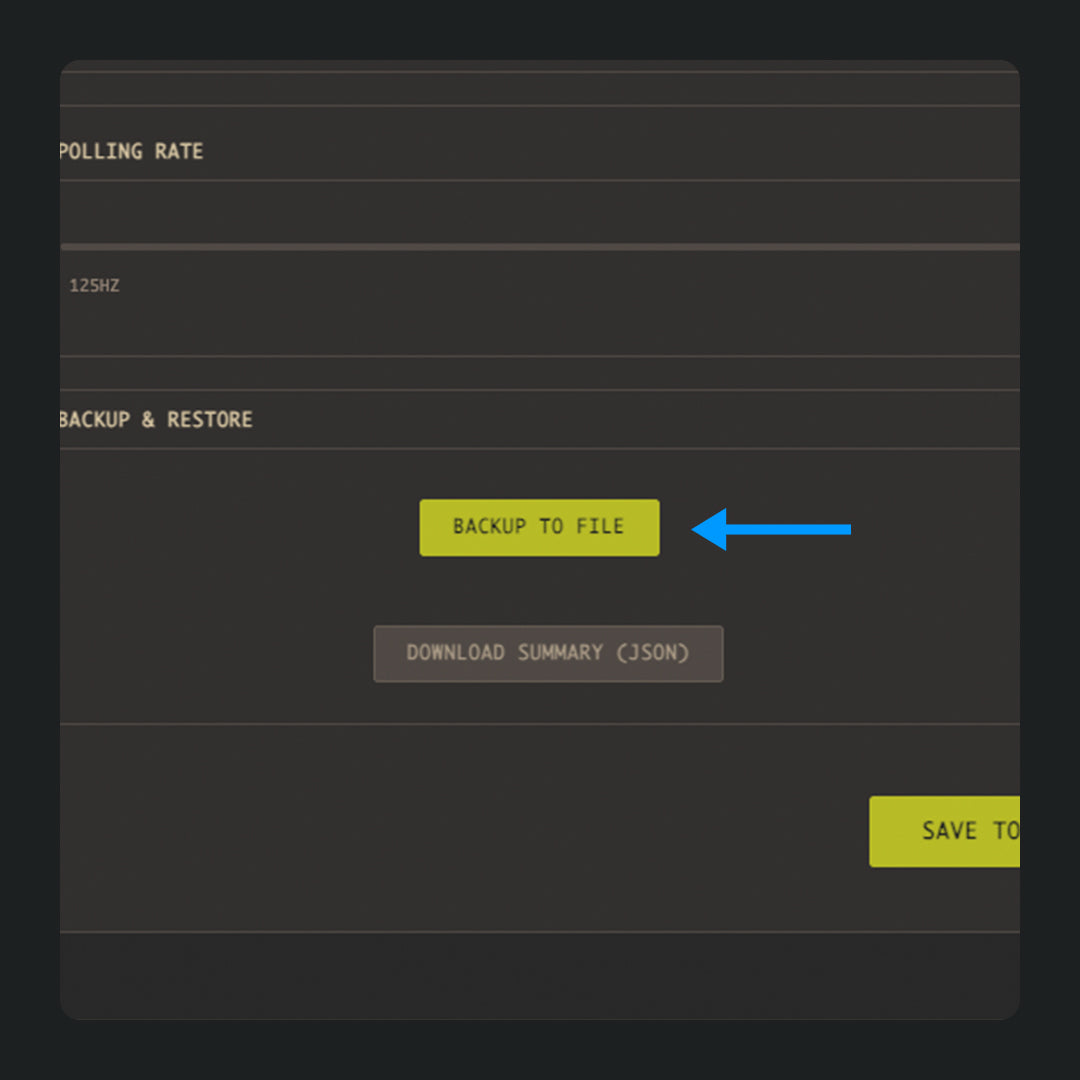
  5. The main setup page will open. Scroll all the way to the bottom, then click the BACKUP TO FILE button. This should either automatically download or prompt you to download your settings backup file.
  6. Confirm the backup file was saved to your computer, then unplug the controller.

XInput Firmware Installation


To update your firmware to XInput mode, follow these steps:

  1. Visit https://update.mariusheier.com.
  2. Press and hold R3 (on MHX, press RS), then plug in the controller.
  3. Release R3/RS and click Connect.
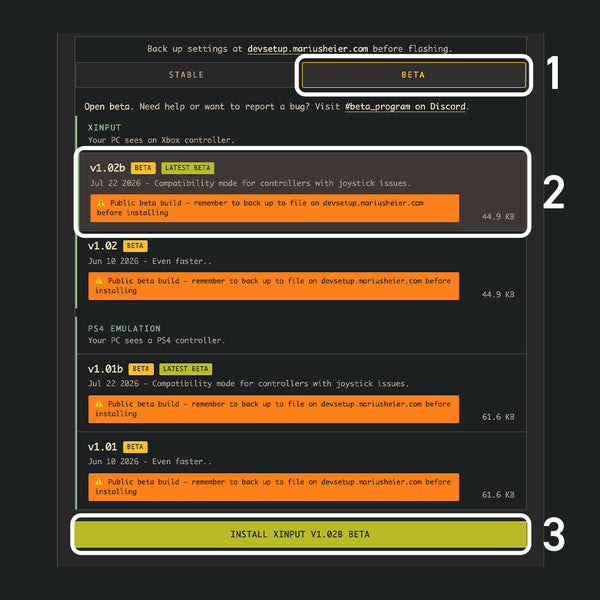
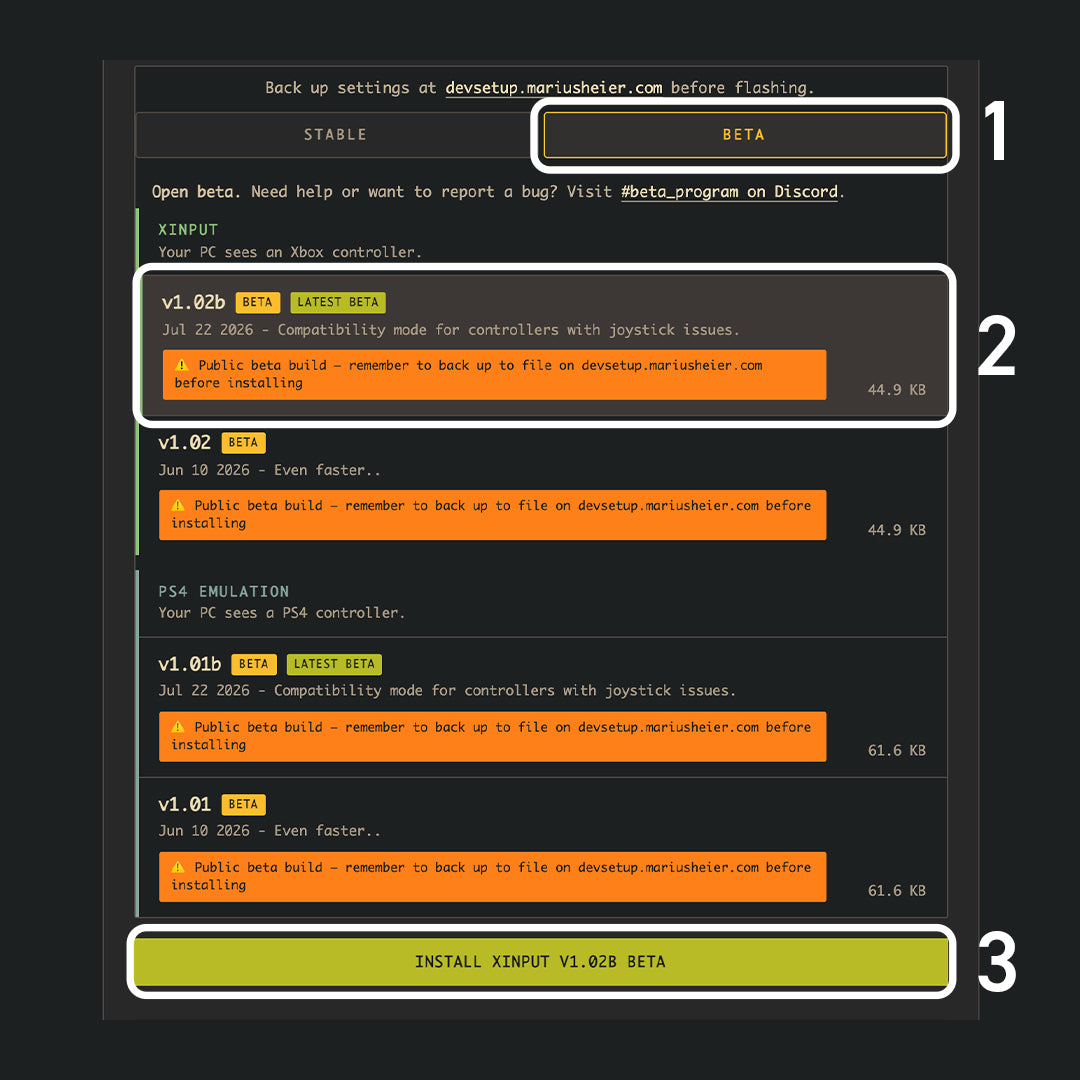
  4. On the next screen, select the BETA tab, then choose the most recent XInput firmware at the top of the list by clicking on it.
  5. Click the INSTALL button below the list and allow the process to complete. Do not disconnect the controller during the update process.
  6. An UPDATE SUCCESSFUL! window should appear.

Settings Restoration

At this point, you have two choices:

  • Restore your previous settings from the backup.
  • Complete a fresh setup and calibration in XInput Mode.

To restore your settings and calibration from the backup, follow these steps:

  1. The controller should automatically enter Setup Mode after the firmware update. Return to https://setup.mariusheier.com.
  2. Click the CONNECT XINPUT (WEBUSB) button.
  3. In the pop-up window, select your controller, then click Connect once again.
Controller not showing up here after the firmware update?

Click Cancel to close the pop-up window. Unplug the controller, hold the PS/Guide Button, and plug it back in. Repeat Steps 2-3. If it still doesn't appear in the pop-up window, there's a chance something went wrong during firmware installation.

Either repeat the installation, or contact Battle Beaver Customer Support for help.

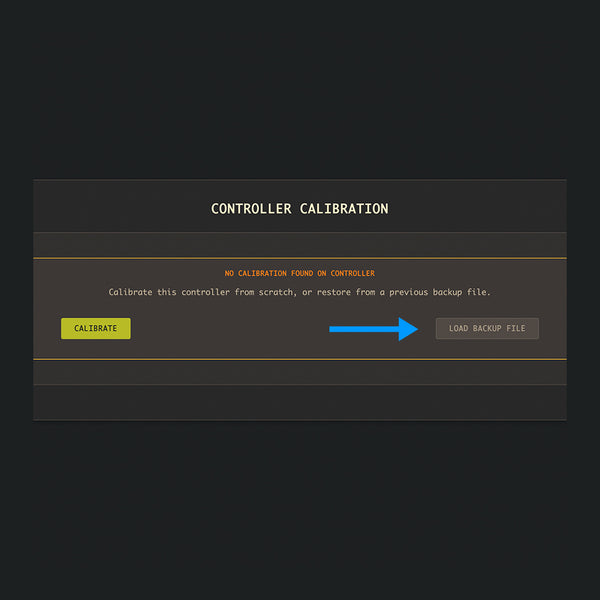
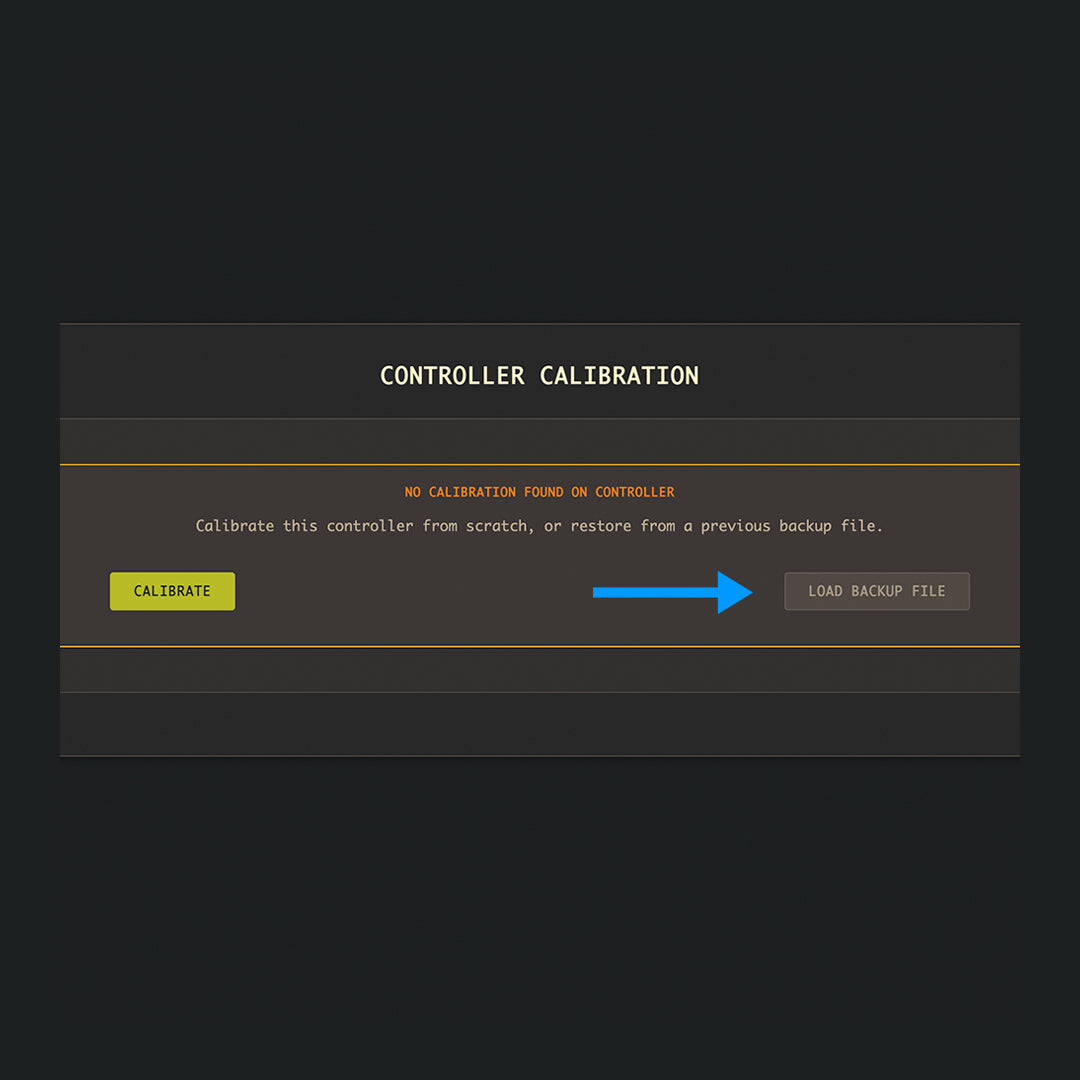
  1. A screen will open that says "NO CALIBRATION FOUND ON CONTROLLER." Click the LOAD BACKUP FILE button. If you'd prefer to do a fresh setup and calibration, choose CALIBRATE instead of LOAD BACKUP FILE.
  2. Select the backup file you made in the first section to restore your previous settings and customized calibration.
  3. The main setup page will open. Scroll down, then click SAVE TO CONTROLLER to save the changes.
  4. Close the setup page, unplug and replug the controller, and enjoy the new XInput Mode!

For more help with the calibration software, visit https://battlebeavercustoms.com/pages/marius-calibration-instructions.